
Replacing a clock spring might seem easy: just pull the wheel and swap the part. But the clock spring is inside the steering column. It touches the SRS system repair circuit. This makes DIY car repair in Australia tricky.
If your steering wheel controls don’t work, the clock spring might be the problem. But replacing it can also mess with the driver’s airbag. So, fixing it is not just about tools. It’s about risk, patience, and knowing when to stop.
This guide helps you decide by looking at cost and risk. Cost isn’t just the price of the clock spring. Risk is about safety, roadworthiness, and if the fix lasts.
Planning a DIY job is like budgeting. You need to know the costs and surprises. Replacing a spiral cable might need tools like a torque wrench. You might also find unexpected parts like clips or fasteners.
It’s important to understand how a part works before fixing it. A wrong move with the steering wheel clock spring can damage it. This article will help you think about the risks before you start.
Key Takeaways
- A clock spring spiral cable is tied to the steering wheel electronics and the SRS system repair circuit.
- DIY clock spring work can address steering wheel controls not working, but it raises the stakes beyond a normal swap.
- Clock spring replacement decisions should balance total cost against safety and roadworthiness risk.
- Spiral cable replacement costs often include one-time tool buys and small surprise parts, not just the main component.
- Australia DIY car repair planning works best with line-item thinking, like an approved budget.
- Misunderstanding how the steering wheel clock spring works can lead to damage and ongoing warning lights.
What a Clock Spring Does in Modern Vehicles and Why It Fails
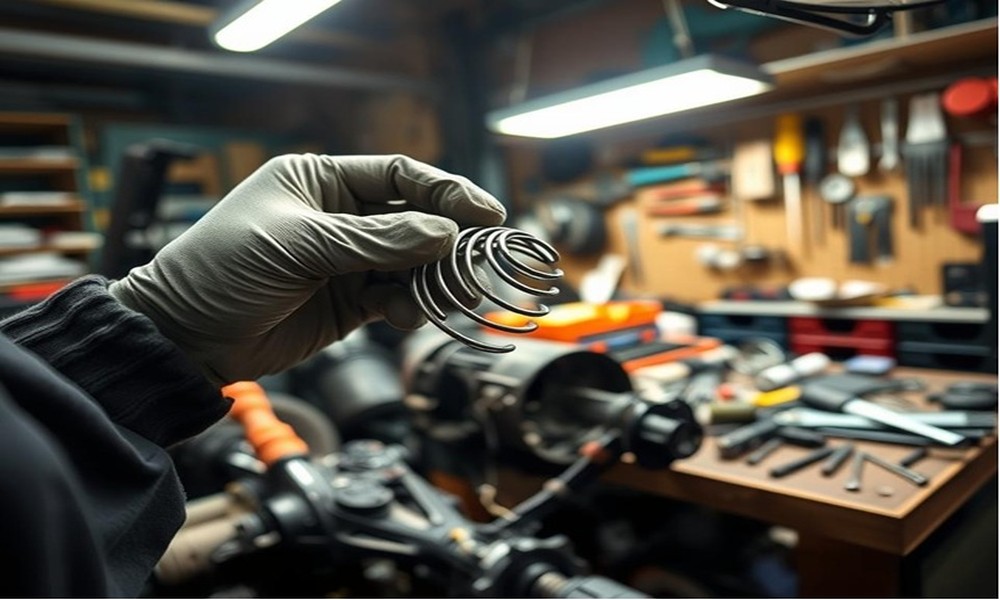
The clock spring spiral cable is a simple but important part. It’s a coiled cable that connects the steering column to the wheel. This lets power and signals flow as you turn.
Inside, the SRS clock spring supports the airbag circuit and other controls. It acts like a flexible connector that moves with the wheel without breaking wires.
When the wiring fails, it often shows as a flickering warning light. Drivers might see an airbag light that comes and goes.
Wear and tear is the main cause. Over time, the ribbon flexes and can crack or lose contact. This leads to random failures of the steering wheel buttons.
Damage can also happen after car repairs. If the wheel spins too far, it can tear the ribbon. This makes the job look simple but can be costly.
Another problem is connector issues. If a plug isn’t seated right or if it gets dirty, the signal can drop out. This is often mistaken for a software glitch.
|
What changes when the clock spring degrades |
What you may notice while driving |
Why it happens |
|
SRS communication through the coil |
intermittent airbag light |
Ribbon wear, slight loss of continuity, or contact oxidation |
|
Horn signal path through the steering wheel |
horn not working clock spring |
Broken ribbon trace or a loose connector under the wheel |
|
Control button signal circuits |
steering wheel buttons failure |
Internal ribbon cracking that worsens with wheel rotation |
|
Cruise switch input from the wheel |
cruise control not working |
Over-rotation damage after prior steering or alignment work |
Many DIY attempts fail because of a lack of understanding. Without knowing how to keep the coil centered, small faults can become big problems.
Beginner Readiness Checklist for Clock Spring Spiral Cable Replacement
A clock spring spiral cable replacement checklist is not about being brave. It’s about following a process well. If you can read a service manual and keep parts organized, you’re on the right track. But if you tend to rush or guess, this job can be tough.
First, focus on safety. DIY SRS safety steps start before you touch anything. Plan to disconnect the battery and follow this routine every time. When removing the steering wheel airbag, be careful not to touch any wires.
https://www.youtube.com/watch?v=8ytuF37UBGU
Having the right tools is key. You’ll need basic tools for panels and trim. Also, a torque wrench is essential for tightening steering wheel parts correctly. If the warning light comes on, have a scan tool ready to reset it.
|
Readiness item |
What “ready” looks like |
What usually goes wrong |
|
Information and sequence |
You can follow the service manual order, including connector locks and fastener staging. |
Skipping steps leads to broken tabs, crossed bolts, or a wheel that isn’t centered. |
|
SRS handling |
DIY SRS safety steps are planned in advance, including a battery disconnect, airbag routine, and no probing of SRS circuits. |
Accidental shorts, damaged connectors, or an SRS light that won’t clear. |
|
Centering control |
The steering wheel stays straight ahead, and the new spiral cable stays centered and locked until installed. |
Free rotation snaps the ribbon or triggers steering angle issues after reassembly. |
|
Tools and torque |
Basic automotive tools are on hand, plus a torque wrench for torque specs on steering wheel fasteners. |
Loose steering hardware, stripped threads, or overtightened bolts that distort parts. |
|
Diagnostics plan |
A scan tool SRS reset option is available if the vehicle requires electronic clearing after repairs. |
Chasing the problem blind or paying for a last-minute scan after everything is buttoned up. |
|
Time and workspace |
A clean bench, good light, and enough time to pause and double-check connectors. |
Dirt in connectors, mixed screws, and damaged trim from working in tight clutter. |
Think of preparation like a detailed plan, not a vague promise. Your checklist should include everything you need, including tools and a plan for a scan tool SRS reset. This way, you avoid surprises during the job.
Being cautious is more important than being confident. Doing repairs without understanding the system can be risky. A checklist helps you stay focused and ensures everything is done correctly.
Cost Breakdown in Australia: DIY Parts, Shop Labor, and Hidden Expenses
In Australia, the cost of fixing a clock spring is more than just the part. It’s about what you buy once, what you might buy again, and what shops bundle together.
First, there are DIY parts. You’ll need a spiral cable unit and small items like clips or fasteners. These small parts can add up and surprise you.
Then, there are DIY support costs. If the airbag light stays on, you might need a scan tool to fix it. You might also buy tools like a torque wrench or trim tools, making it a bigger project.
|
Cost bucket |
What you pay for |
How does it show up in your total |
|
DIY parts |
Spiral cable unit, clips, fasteners |
Typically upfront; higher if trim or connectors get damaged |
|
DIY support costs |
scan tool cost SRS, torque wrench, trim tools |
Often, one-time spending can exceed parts if you start from zero |
|
Shop pathway |
Parts markup, diagnostic fee, labor, SRS reset |
Bundled pricing; easier to predict, less flexible on line items |
Going to a shop can make things clearer. They often give a single price that includes parts and labor. Make sure to ask if they include testing and code clearing in their quote.
Hidden repair costs can also add up. If the job isn’t done right, you might have to pay again. Broken parts, towing, and roadworthy fees can all be surprises.
To avoid surprises, budget like you do at home. Keep track of your spending. This way, even hidden costs won’t shock you.
Risk Analysis: Safety, Legal, and Functional Consequences of Getting It Wrong
Most clock spring spiral cable risks don’t look dramatic in the garage. They show up later, when the car needs its safety systems to work the right way.
That’s why safety-critical DIY repairs deserve a higher bar than trim or audio work. This part sits in the middle of the SRS circuit, and the downside is more than annoyance.
The big concern is airbag deployment risk. A mistake can leave the driver’s airbag unable to fire in a crash, or it can raise the chance of an unintended event while the system is disturbed.
In plain terms, SRS legal safety is not a paperwork topic. It’s occupant protection hardware, and small errors can turn into big outcomes.
Functional trouble is common, too. A steering wheel airbag fault can stay on the dashboard, even when the car seems to drive fine.
Other symptoms are less obvious: horn dropouts, dead steering wheel buttons, or faults that come and go after a bump. These issues can trace back to pin fit, connector seating, or internal ribbon damage that’s hard to see.
|
Risk area |
What can go wrong |
What you may notice |
Why it matters in Australia |
|
Safety system integrity |
Compromised SRS circuit or unstable connection |
SRS light, intermittent warnings, unpredictable behavior |
Raises airbag deployment risk and complicates SRS legal safety expectations after a serious incident |
|
Steering wheel functions |
Loss of horn, cruise, audio, or phone controls |
Buttons work only at certain wheel angles |
Creates distractions and can trigger a steering wheel airbag fault diagnosis path |
|
Roadworthiness exposure |
Ongoing SRS warning light after the repair |
Dash light that won’t clear or returns quickly |
May affect a roadworthy safety inspection depending on state rules and inspection context |
|
Claims and records |
Repair history questioned after a crash |
Requests for invoices, scan reports, or workshop notes |
Can increase insurance implications Australia by inviting scrutiny of safety-system condition |
A smart way to think about it is like budgeting with controls. You set limits, check the numbers, and escalate when a line item blows out.
DIY risk management works the same way: if the diagnosis is unclear or the warning light won’t stay off, stopping is a control measure, not a defeat. With clock spring spiral cable risks, the cost of guessing can land in safety, compliance, and insurance implications in Australia at the same time.
Post-Repair Verification and When to Stop DIY and Escalate
After you install, take a moment to check if the clock spring is fixed. Park the car and turn the wheel all the way. Look for any rubbing or tight spots.
Then, test the steering wheel controls and horn several times. They should work every time, not just once. If they don’t, it’s a sign to check your work again.
Also, watch the dashboard when you start the car. An SRS light shouldn’t be ignored. Use a scan tool to check if there are any faults.
Know when to stop DIYing. If the wheel is off-center or the connectors look damaged, seek help. If the code shows more issues, get a professional to check it out.


